How to work with acetate canopies and windscreens – part one: glue

Today we have an article from Gábor Szabó, father of Plastic Passion line of resin kits.


Many people asked me how even possible to glue clear parts especially the vacformed or just plain acetate ones onto a resin (or any other type of) kit. I see the difficulty as a resin kit can be glued only with some kind of resin based glue i.e. CA or epoxy. Acetate is a tricky material itself and beside this You have to be careful not to ruin the clarity of these kind of parts. The solution is quite simple however the only really tricky part is that You have to take Your time and prepare the clear part to fit as good as possible. I plan to write a short list of tips and tricks about preparation if You like but this time I’d like to speak only about the glues You can use.
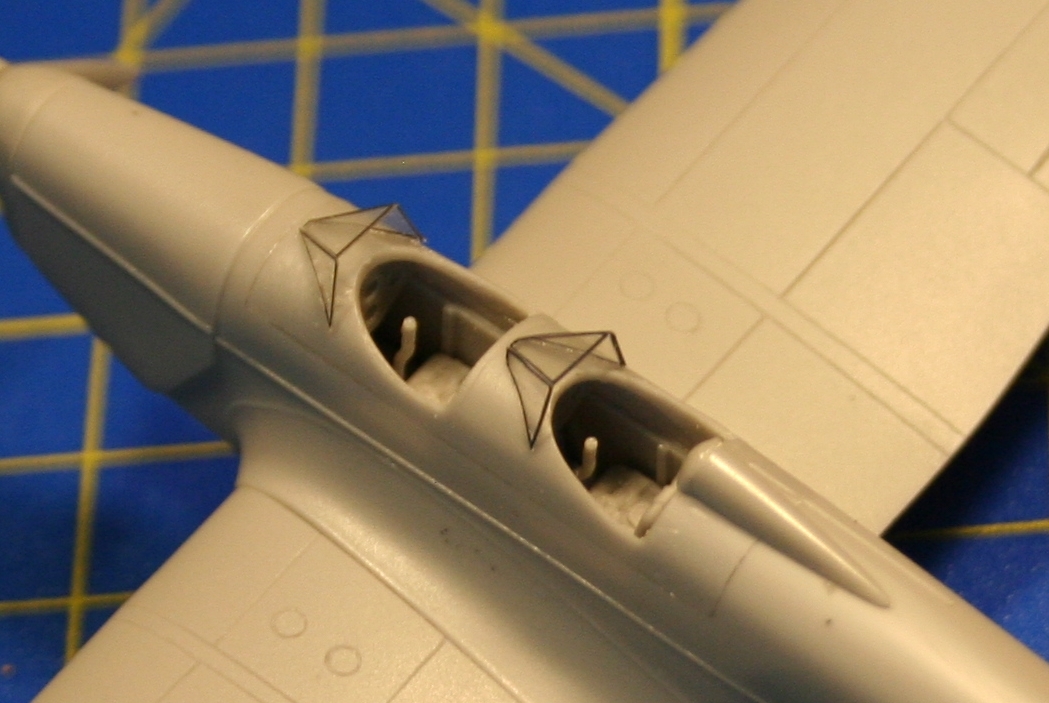
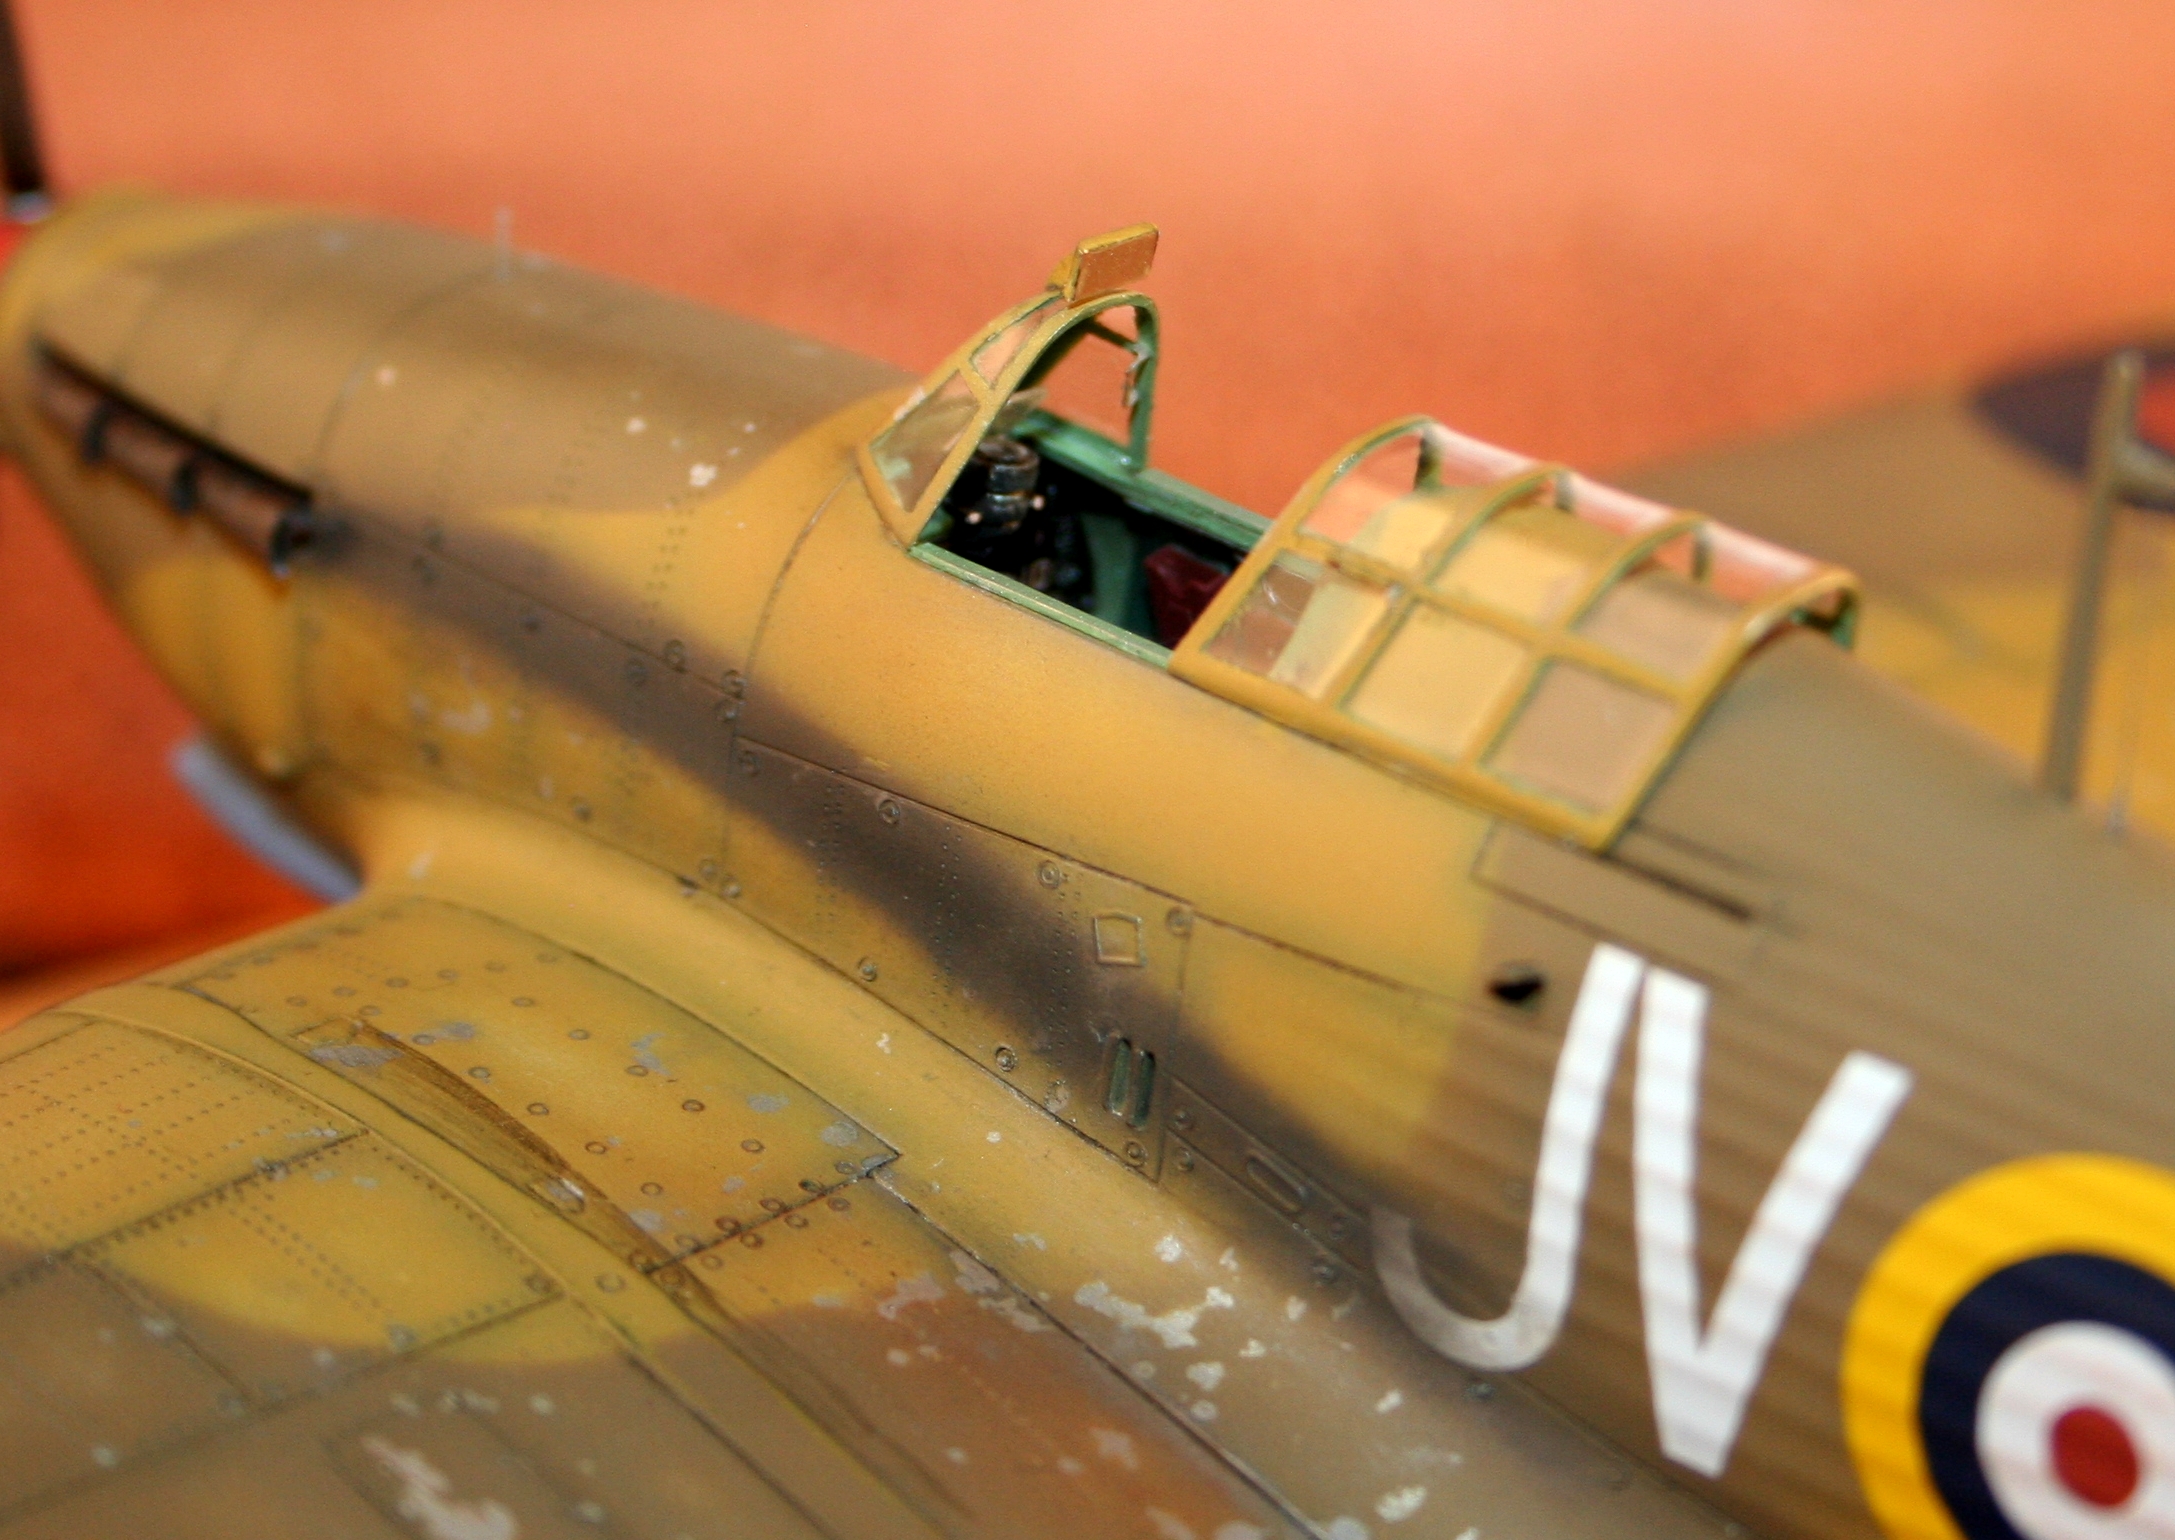
First You have to achieve that the part will fit without any major gap or stretching – the ideal situation when the canopy/windscreen „drop fit” onto the fuselage. The rest is easy. First You have to decide when You want to attach the part – before or after the painting – some people, myself included prefer before. Some kind of glues behaves nasty with most of paints so be careful and plan according the type of glue You want to use.
I tried several methods and glues, here are some usable. There are another glues that can be useful out there but these are I personally tried and use – don’t forget the key is the good fit here not the strength of the glue:
Microscale Clearfix (or any other similar „clear” glue): easy and convenient. The drawback is that this glue is not too strong but You can wipe out the excess with a moisted tissue/Q-tip, doesn’t harm the surface or paint and clear when cured – as advertised.
Hypo GS: his king of glue used by watchmakers and jewellers to glue glass and crystals with metal – it has sealing capabilities also (just think about water proof watches). It is quite strong and dries fast, cures crystal clear. It’s a bit aggressive to paints so be careful with it. You can buy one tube for 2-3USD and it will last forever. The only drawback is that You can’t really sand it as it will be always a bit flexible. It is a great stuff IMHO after some practice with it.
Glass repairing CA: this is practically a not fogging CA, but be be careful with it, as some fogging may occur. It cures a bit slower than ordinary CA’s and not as strong but quite usable. A good practice to add a coat of Future onto the clear parts because it prevents CA fogging.
Revell Contacta: In case if You haven’t got any other option on hand. It’s definitely possible to glue clear parts with it but it is tricky and quite unconvenient.
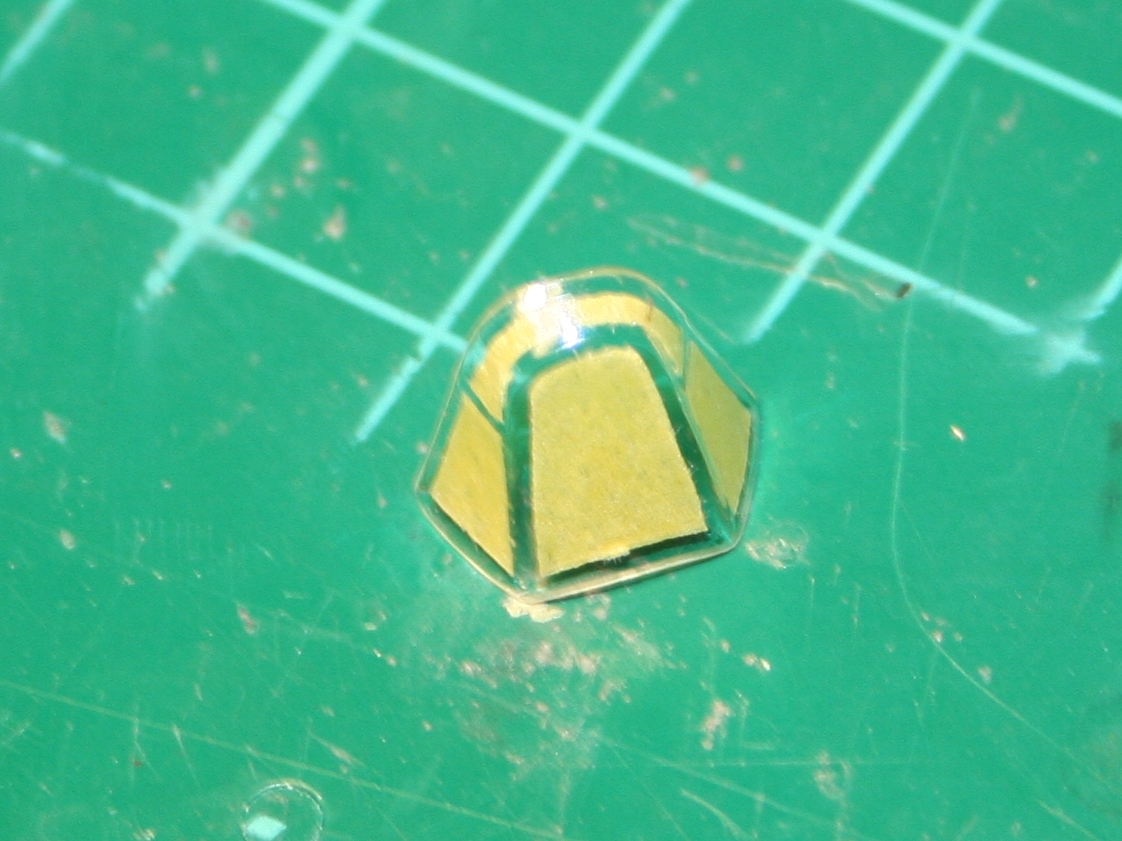
Another story when You have to force or bend the clear part to attach. The only way is to work in small steps in this case. I usually dip the clear part into Future before work with it (or Gauzy or Humbrol Clear Cote – same stuff IMHO) and mask it before gluing (a further protection). Choose a stronger glue – CA for glass or Hypo GS are all good start here. I apply the glue with some kind of applicator – with a piece of stretched sprue for example – and start at the middle of the windscreen. When the glue set bend the part onto the fuselage and and apply some glue onto the corner. You have to keep the part in position until the glue set. Now move to the next corner and so on until the part fit. Now apply more glue into the attachment seam (fill up the unglued areas) and You are ready. If You used CA You can even sand lightly the seams if it’s necessary.
Leave a Reply to Roman Cancel reply
Send Email
Recent Posts
Recent Comments
- Sudesh on Overhaulin’ the King Tiger sprocket
- Roman on How to work with acetate canopies and windscreens – part one: glue
- Csaba on Overhaulin’ the King Tiger sprocket
- Koos van der Merwe on Overhaulin’ the King Tiger sprocket
- Vladimir Kafka on Spanish Civil War Caudron 600 in 1/72
1 Comment
I use this glue and it work very well!!
https://www.cyanolit-colles.com/produits/colle-cyanoacrylate-succes/
Normaly it does not make fog!
To avoid eventually fogging, I blow during one minute with the airbrush.
Patrice